
Adobe Illustrator is my bestie. Truly. I see her EV’ERY day. I love the ability to replicate, expand, and iterate through vectors. And as a trained painter and illustrator, I have a real passion for color theory.
I believe the core techniques of composition, color theory, and vectors can be re-Tetrised into so many other projects. In this project we are honing an under-utilized technique in Illustrator is the ability to make your pattern swatches in Illustrator.
PROJECT CHALLENGE….
DESIGN TWO SEAMLESS, REPEATING PATTERNS
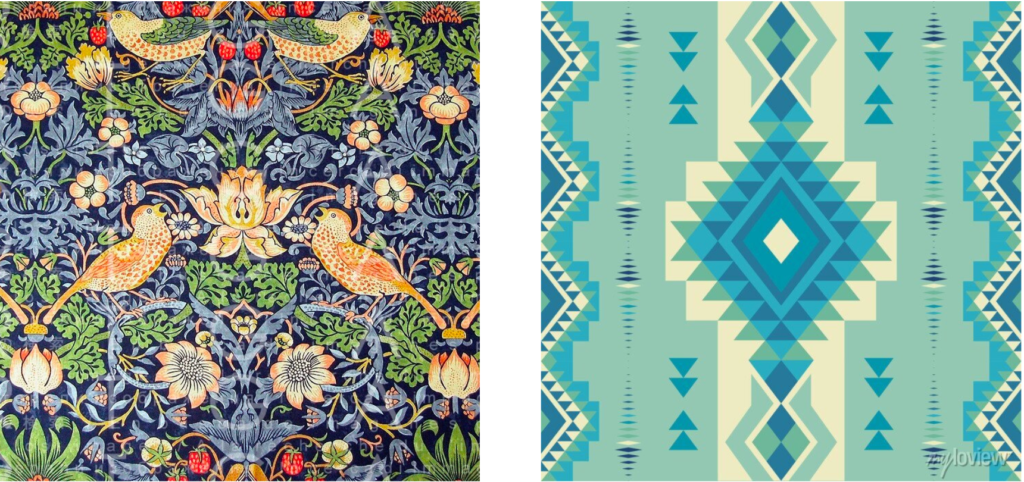
ONE William Morris-inspired interlocking pattern
+ ONE simply seamlessly, repeating pattern of your choice

- We need to see a CLEAR COLOR SCHEME — Monochromatic, Complimentary, and or Triadic color….or warm or cool…scheme.
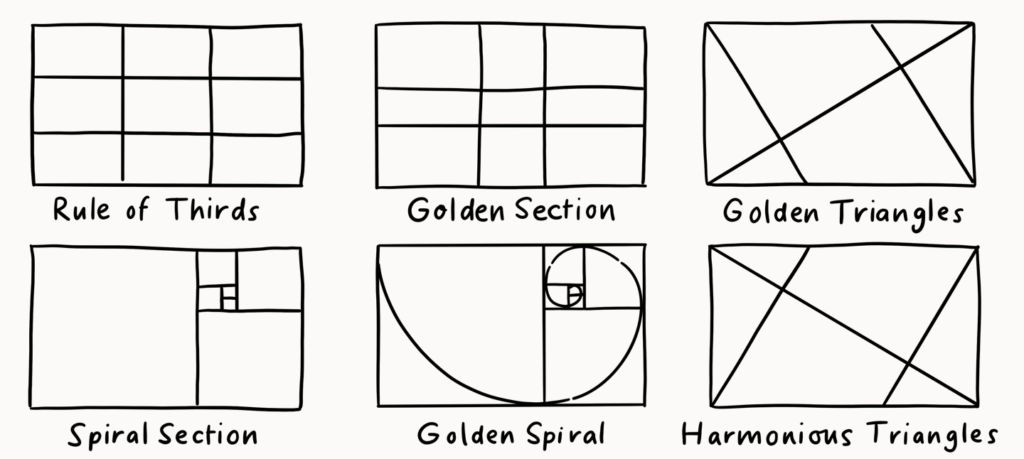
We need to see a CLEAR COMPOSITION — Rule of thirds, centered, diagonal, radiating circular, tunnel, or golden ratio.
We need to see a SEAMLESS USE OF REPETITION — When you use the swatches we DON’T want to see the seam — we want it UN-CLOCKABLE
OUR OVERALL (SEVEN STEP) PROCESS:

1. Sketch seamless repeating pattern designs

2. Create color palettes in Adobe Color (as an .ase file) that you plan to use in your final pattern swatch
3. Get feedback from your fellow designers and implement, at least, two suggestions into your final

4. VECTORIZE your final sketches in Adobe Illustrator, building them with shapes, the pen tool, or the blob or paintbrush tool — so these are editable.
5. Check-in with your fellow designers and get feedback one last time. Peer reviewing the design against the project brief

Using a platform like RedBubble or creating your own Photoshop mockup, apply your pattern to a personal or home-based product.

7. FINALLY, you will present your journey in our project critique where you will create a slide deck showing all your steps…and the final battle.
Was this process like a Romantic Comedy where you didn’t like Illustrator or pattern making at first, but then you found out it was just a misunderstanding and then you fell in love? Or did you get lost for a minute and through the guidance of some friends find solutions that made you wiser like Dorothy in the Wizard of Oz?
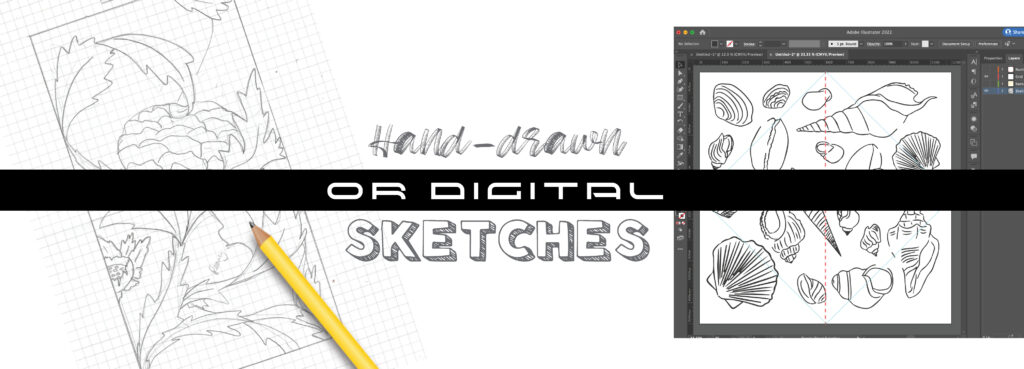
SKETCH YOUR REPEATING PATTERN
- You are goal is to create well-designed SEAMLESSLY repeating patterns
- Your pattern needs, at least SIX elements/unique shapes per pattern
What will be your TECHNIQUE?
- FINE ART DRAWING — You can hand sketch (or even painting with ink) your pattern, but you will need to check it to make sure your composition is SYMMETRICAL.
Tools that could be helpful —
grid paper, rulers, and/or straight edges, graphite transfer paper, scissors…and if you have them pencils of varying weights B to H.
Use these to draw not only horizontal and vertical lines but also diagonal lines to showcase how things will line up. I also find it helps to cut your paper in half vertically and horizontally to triple-check that it will repeat. - DIGITAL “SKETCH” — Adobe illustrator is all about creating shapes and symmetry
TOOLS THAT WILL BE HELPFUL
- Use your GUIDES (use command R)…simply drag into top or left hand bars
- Align tool or shortcuts
Horizontal Align CenterOption+Command+CHorizontal Align RightOption+Command+RVertical Align TopOption+Command+TVertical Align CenterOption+Command+M *.
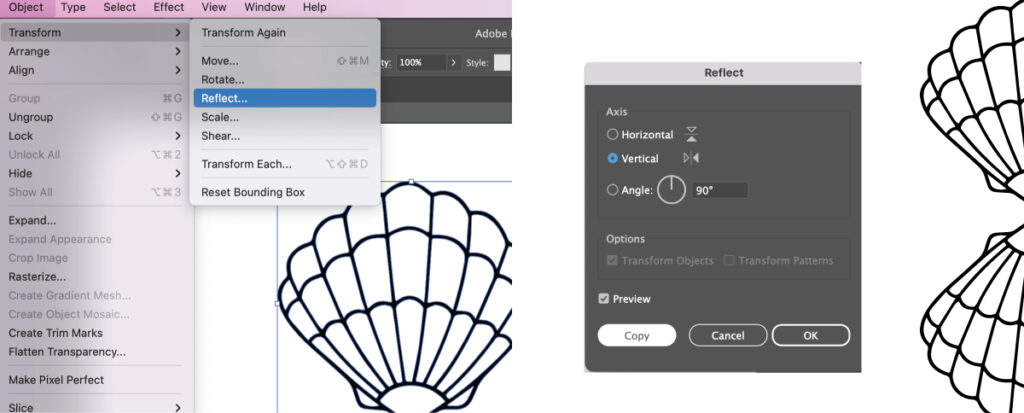
- Mirror your elements with REFLECT
Object> TRANSFORM > Reflect > copy!

- Create CUSTOM GUIDES with SHAPES
Also, remember you can create any shape as a guide by using “COMMAND+5”
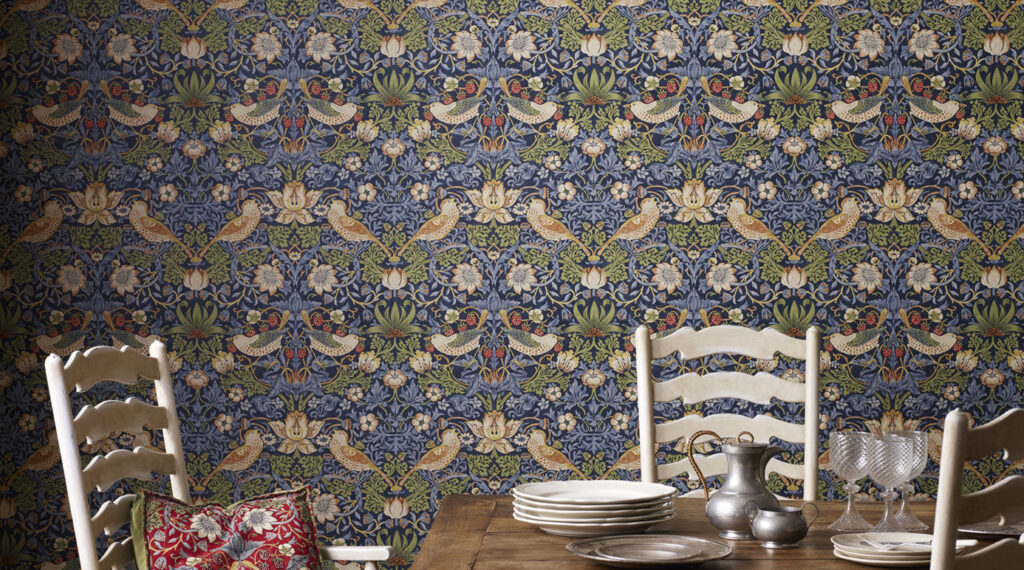
WILLIAM MORRIS-INSPIRED PATTERN TECHNIQUE TUTORIAL
This method requires a bit of planning and, for me, more re-drawing but the work can prove such a great result.
OVERALL: You will draw an original idea and then mirror the elements — it doesn’t work as well for illustrated elements like characters who mightn’t look as good flipped. Instead, it’s best for more interwoven patterns featuring more abstract or simple natural elements, here I have used leaves and more natural elements taking further inspiration from Morris, but your pattern can be whatever you want.
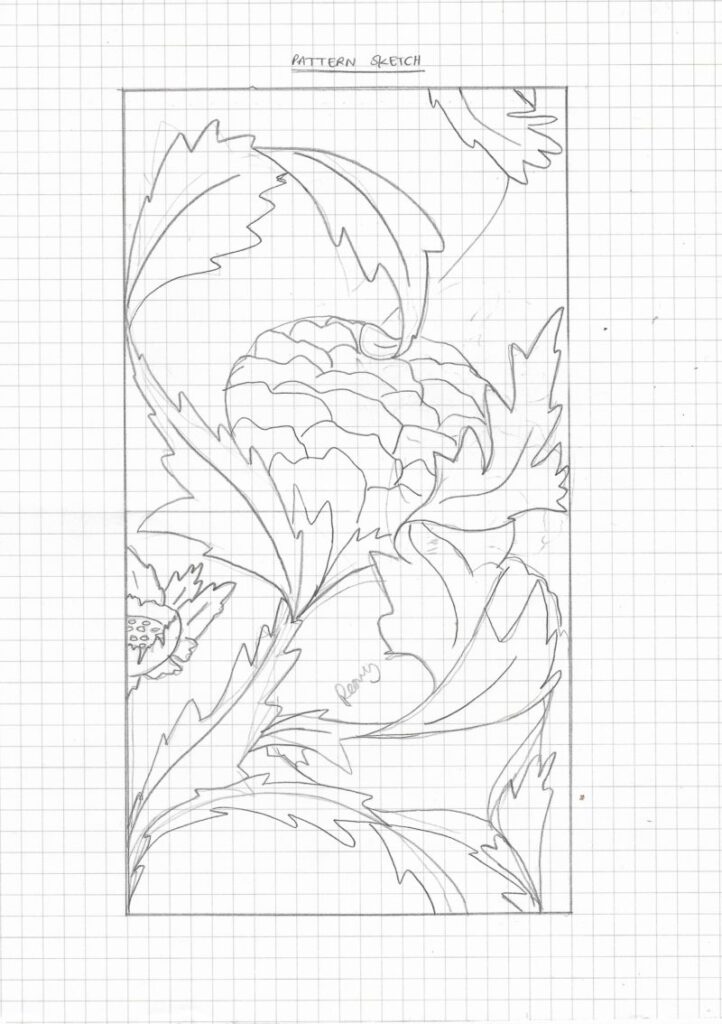
JUST AN FYI: I should have shown this technique as a square — I know that this is a rectangle…I learned my lesson once I digitized it and went to make this a swatch. Learn from my PERFECT MISTAKE.
Personally, I like to draft on GRID PAPER to help me visualize where parts will join up and keeps my design neat and clean.
I begin by just drawing out the structure of my design using curves and lines to show where I want elements to go and how I want the pattern to flow across the tile. You really want to create a sense of movement across the tile and you will want to go right to the edges, and into all of the corners. Draw your biggest element first and then add smaller elements that reach into the corners and in the larger element’s gaps.

Once you have your layout you’re going to want to refine it.
I tend to work loose, so I have lots of layered marks (drawing and drawing things on top of each other), so my sketches are often quite messy. So to help my future self, I will transfer my REFINED design onto a fresh sheet using some tracing paper OR graphite transfer paper. Extra tip, I also often use a black marker — microns, paintbrush markers, and/or fine-tipped Sharpies — to help refine and clearly outline the shapes.
Now that you have your first pattern tile, you want to duplicate and flip your image 180 degrees, then place them together. This is best done digitally by photographing it and bringing it into Illustrator — or you could use a paper copier to make three copies to test how this repeats.
If you don’t like anything you can retrace the elements until you get to your FINAL draft!
NOT A READER?
Here are some videos showing folks creating their own —
Making a digital William Morris Pattern | Hand drawing Morris Pattern technique
SIMPLY SEAMLESS PATTERN TECHNIQUE TUTORIAL
This method is the one that I’ve used the longest, and the most frequently. It works best for patterns with separate illustrated elements, but you can also use it for more interwoven patterns.
JUST AN FYI: I usually work completely digitally for this method, so the process images are screenshots, but I have added in notes if you want to work physically.

Start with a square, whether you’re working on a piece of paper or on the computer. The only rule here is don’t touch the edges of your square – I put some guidelines in to remind me (that is the pink dotted line), but you don’t need to.
Then just draw whatever you want to be in your pattern! I went with SEA SHELLS because I am missing summer weather.
Once you’ve filled in the middle of your square, you want to divide it up into quarters. So, if you’re working on paper you’re going to need to carefully cut your drawing. You could achieve this in Adobe Illustrator by copying your art board….just use your COMMAND+SHIFT to create the quadrants…and use your align tool to line them up perfectly.
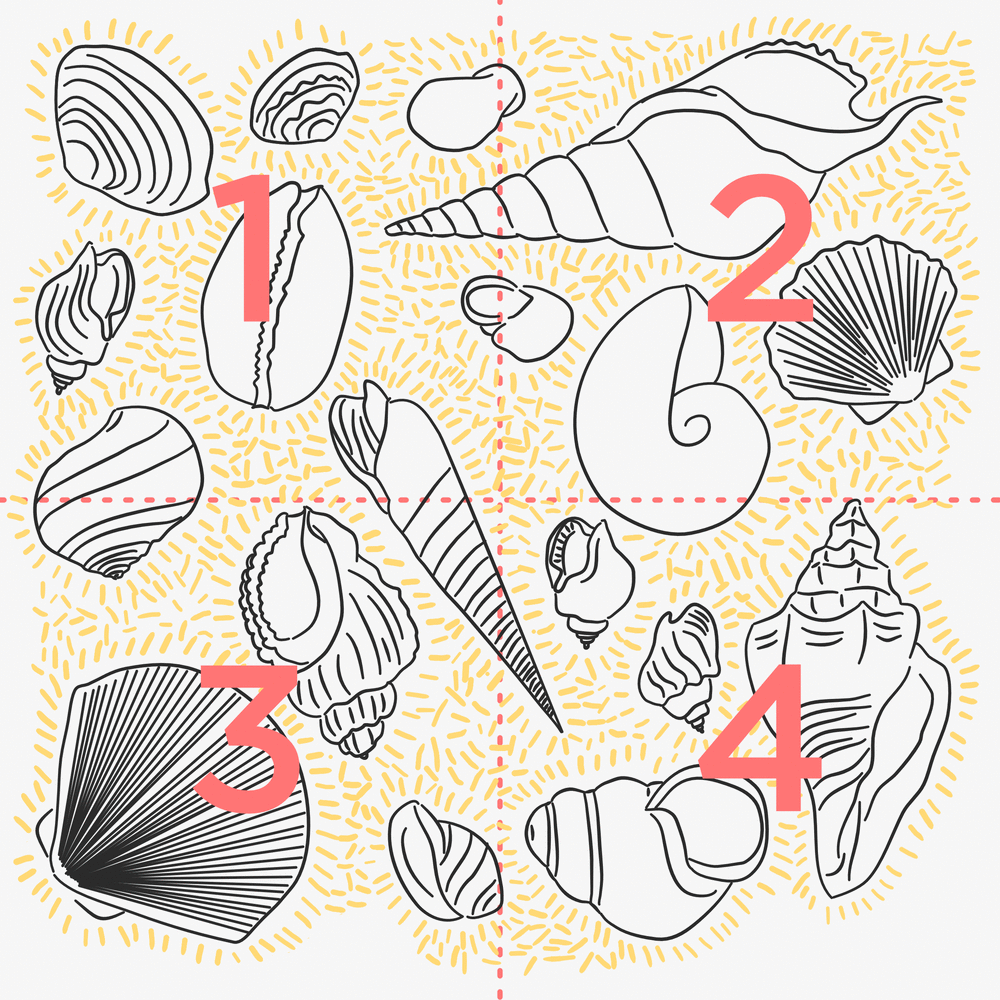
Now you’ve got 4 squares, you need to rearrange/rotate them so that the top left square becomes the bottom right, the top right becomes the bottom left, the bottom left becomes the top right, and the bottom right becomes the top left. Then you need to stick it together to make one big square again. If you’re working on paper, put the sticky tape on the back of the paper because you’re going to need to do some more drawing.
Because of how you’ve rearranged the squares, you should now have a bit of space in the middle and across the joins of your square. You’re going to want to fill in those spaces with some more of your illustrations so that the full square is evenly covered.

Now you have a finished pattern tile! You can now repeat your pattern, by copying the square and putting them together, over and over again. If you’ve been working on paper, you’re probably going to want to scan your tile in, and then edit it digitally so you can reproduce it more easily.
NOT A READER?
Here are some videos showing folks creating their own —
Making a Seamless Pattern in Illustrator | Seamless Pattern Paper Drawing Technique
FINAL RESULTS
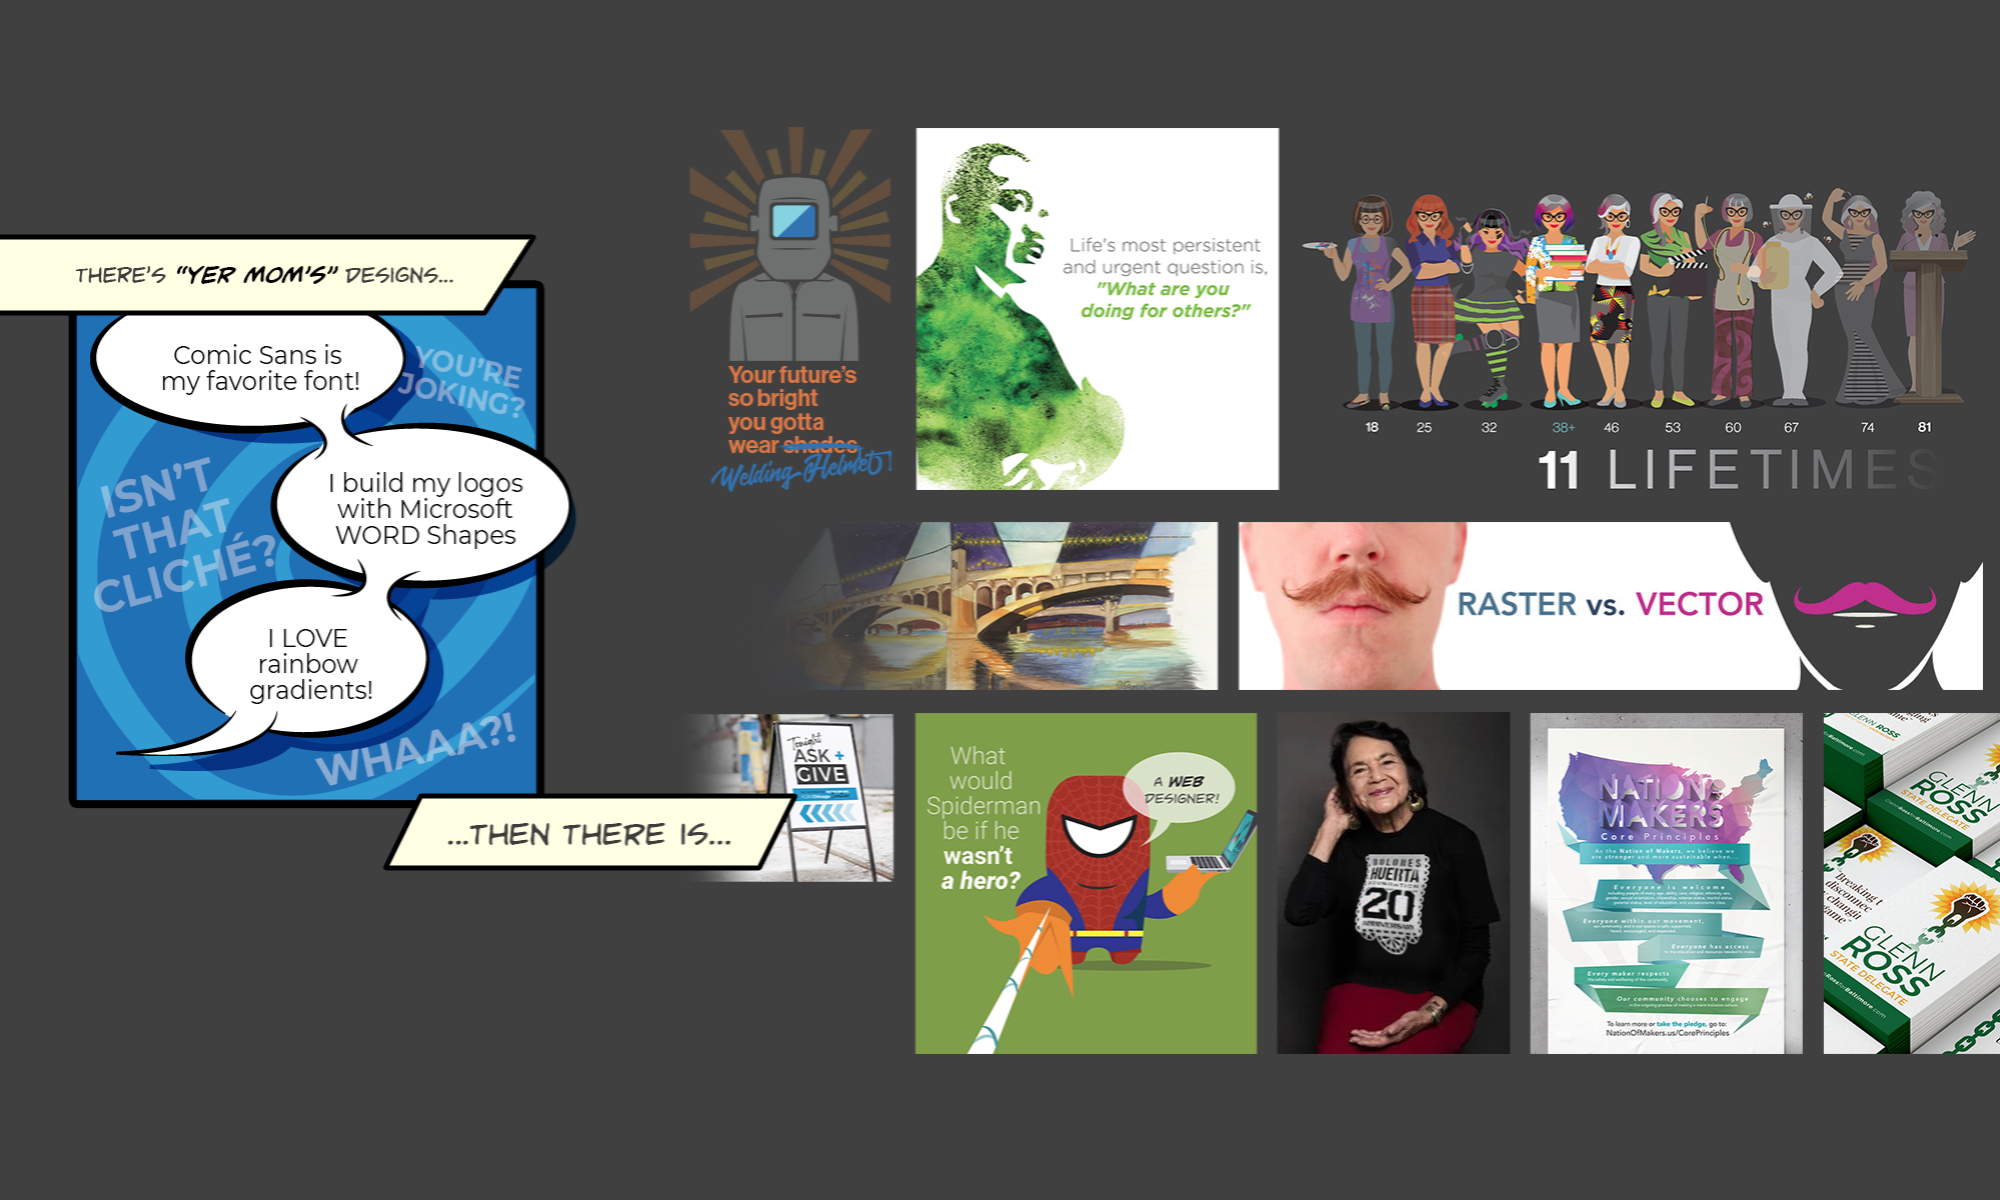
Students often think of Hobby Lobby or Michael’s when you first say “Arts and Crafts,” but being a Graphic Design NERD, I love bringing in a little HISTORY or research into my assignments. I believe the vision of William Morris’ theory impacted so many future design movements — including the Bauhaus movement — and still does and should resonate today, especially as we live in a post-Ikea world.

Students often get very into this project, putting a lot of their own passions, hobbies, and visions into this assignment. Not only can they explore their interests through iconography, but they can also connect those themes through color psychology and compositional rules. And I believe it is really empowering to then apply one’s art to a real product…with the option of being able to own your one-of-a-kind item(s).
FINAL PRESENTATIONS
I always offer students the ability to pre-record their final presentations, in the case they are not comfortable with public speaking. Here is an great student example that I now share with every class as to how to best structure a presentation.